Showing posts with label Rustic. Show all posts

Wednesday, January 17, 2018

Winter Mantel 2018

I love creating seasonal mantels.

Winter gives me a chance to come up with natural, #rustic tones for my living room #mantel.
winter mantel wtrmk a

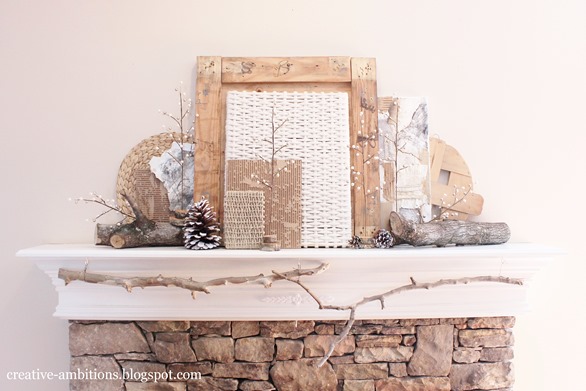
With this year’s winter mantel decor…

I used items such as a shipping crate panel, a woven placemat…

winter mantel wtrmk d

a bushel basket lid, a mixed media art piece I’ve been working on…

winter mantel wtrmk f

and I made these cute little berry branch trees.
winter mantel wtrmk

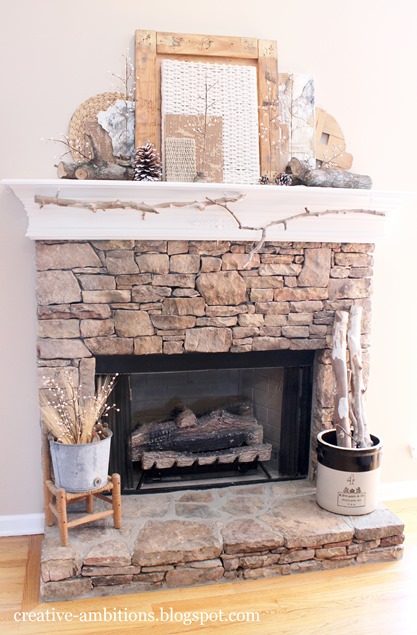
And of course, I had to add outdoor elements such as the pine cones and cut wood!

I also added some winter wheat and berries to an old milking bucket along side an antique crock.
winter mantel wtrmk c

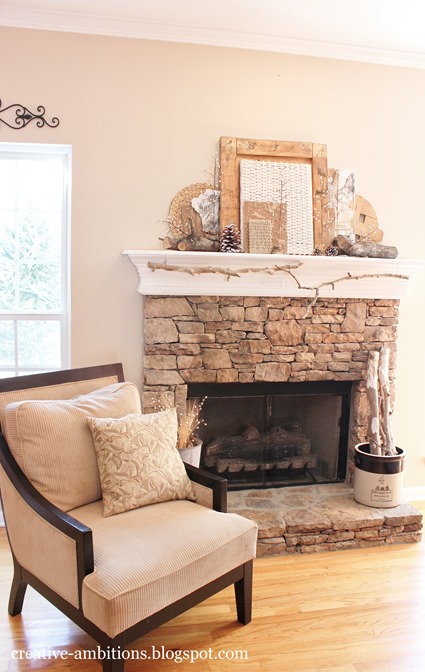
All those elements created lots of yummy texture that I love!!

Thanks for stopping by and hope everyone stays warm this winter…

it’s been a cold one!


Saturday, December 16, 2017

Christmas Mantel 2017

I finally got the tree up and the mantel decorated!

I kept my cabin theme from this year’s Fall’s Cozy Cabin Mantel

and went right into decorating the cabin for a wintery mountain scene!

This is my Cabin In The Woods Christmas Mantel 2017…

Christmas Mantel 2017 a

I love the greenery with this mantel

and how it really does make it look like a cabin in the woods!

Christmas Mantel 2017 5

One of my fav things is the antique stoneware crock!

christmas Mantel 2017 e

And to go with my woodsy theme…

my tree has rustic, plaid, and cabin-y type ornaments on it!

Christmas Mantel 2017

I also used the old trusty outdoor tub for my tree base. 

WELL…

it definitely feels like a Tender Tennessee, Woodsy, Rustic, Mountainy Christmas around here!!

Thanks for stopping by to check out my Christmas Mantel this year!!

Christmas Mantel 2017 c

I wish everyone

a VERY MERRY and BLESSED CHRISTMAS this year!

Monday, December 19, 2011

My Christmas Barn Mantel


So… it hit me…

Why not bring the outdoors in…

by BUILDING an OLE RUSTIC Christmas Barn…

For my Christmas mantel this year!

Since I didn’t have any scrap wood, I had to take a trip to the hardware store.

I found some light cut wood and came up with a plan.

blog1

Here… I’ve cut and glued some of the pieces together as you can see.

blog2

Now… it’s starting to take shape with the beginning stages of FAUX PAINTING.

Remember… I wanted RUSTIC!

After the faux painting was done, I cut some strips and added that ole barn door.

Barn Door

with a little BLING, BLING!! Smile

Ready for the WHOLE finished barn?

DrUm RoLL PLeASe…

Christmas Barn Mantel

TA DA!

I LIKE!! Smile

Now…

Here’s some Christmas Barn Mantel photos for you to enjoy…

Christmas Barn Mantel 2


blog

Notice the snowy branches?

They came from flocked scrap branches at a nursery…free!  Smile

Christmas Barn 2


I added some stacked wood around the barn for an outdoor feel.

Christmas Barn

The lights all around the barn make it real nice and cozy at night!

Christmas Barn 3

And that’s my 2011 Christmas Barn Mantel!

What’s great about this piece is that I can use it anytime of the year.

OK…well…

Next up… the Christmas Tree!

I did something this year… I’ve never “had done” before!

Hope your Christmas Season has been Merry and Bright!!


Friday, October 15, 2010

My Version of a Photo Ladder


Back in the spring… my gracious neighbor gave me these
nice tree branches.
001
Well… they sat on the back porch for awhile as I contemplated what to use them for.
003
So back in the summer… when it was like 100 degrees I finally decided to build this.

 
Basically, my hubs cut the pieces I needed and I nailed it together.
IT IS PURELY A DECORATIVE PIECE.
so…
WARNING:
No climbing on this ladder!
After I got it assembled… I didn’t know what to do with it.  I really didn’t have a place or a plan for it yet.
So it sat out on the back porch with me staring at it for months.
002blog
And then finally it came to me… a photo ladder and a possible place in the dining room.
So I went out and bought some ingredients I needed…
001
and then got to cookin’.
All I did next was (after measuring) predrilled a small hole in the branches and photo frames and then screwed in screw eyes.
004blog
I had originally planned to use S hooks to link the frame to the steps but because my steps had different heights… it didn’t work out.
So I used hemp string I bought at Walmart a few weeks back.  I actually like it better than the S hooks.
Next,  I painted my photo frames white and then picked out some black and white photos of our wedding and put them in.
I had some berries left over from my White Cradle Centerpiece (Click here)


and just stuck them on.


But wait… I’m not through.
I want your opinion!
My hubby and I cut some pieces of wood from some branches outside.  I had planned to glue them on the photo frame to make it look more rustic.  I used a white wash over them.
007blog


Here are some just taped on…

Not sure which way to go??
SO…
what do you think?
With
or
without
the stumps of wood?
Thanks For Stoppin’ By!
Linking to
Funky Junk's Saturday Nite Special